As an Amazon Associate, we earn from qualifying purchases. Some links on this site are affiliate links at no extra cost to you. Our recommendations are based on thorough research and editorial judgment.
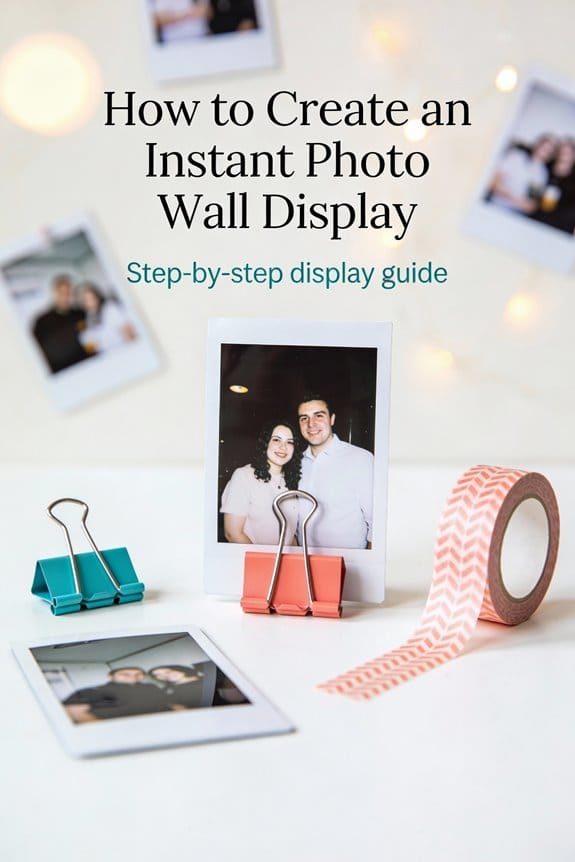
How to Create an Instant Photo Wall Display
To create an instant photo wall display, we start by gathering our favorite Polaroid photos and planning a cohesive layout. Using adhesive methods like washi tape or double-sided tape guarantees a clean look. It’s essential to maintain spacing (about 1 inch apart) and align everything properly for a balanced aesthetic. Personalizing our display with themes, decorations, and quotes adds character. Rotating photos regularly keeps the display fresh and exciting. Stick around to discover more creative ideas for enhancing your photo wall!
Key Takeaways
- Gather cherished Polaroid photos and visualize their arrangement for an appealing wall display.
- Plan a cohesive layout using measuring tape to maintain a consistent spacing of 1 inch between photos.
- Choose an appropriate adhesive method, such as Scotch Restickable Tabs or double-sided tape, for secure and damage-free placement.
- Personalize your photo wall with decorative elements like string lights, colorful washi tape, and motivational quotes to enhance visual appeal.
- Regularly update and rotate prints every 1-3 months to keep the display fresh and engaging.
Gather Your Favorite Polaroid Photos
You may be interested


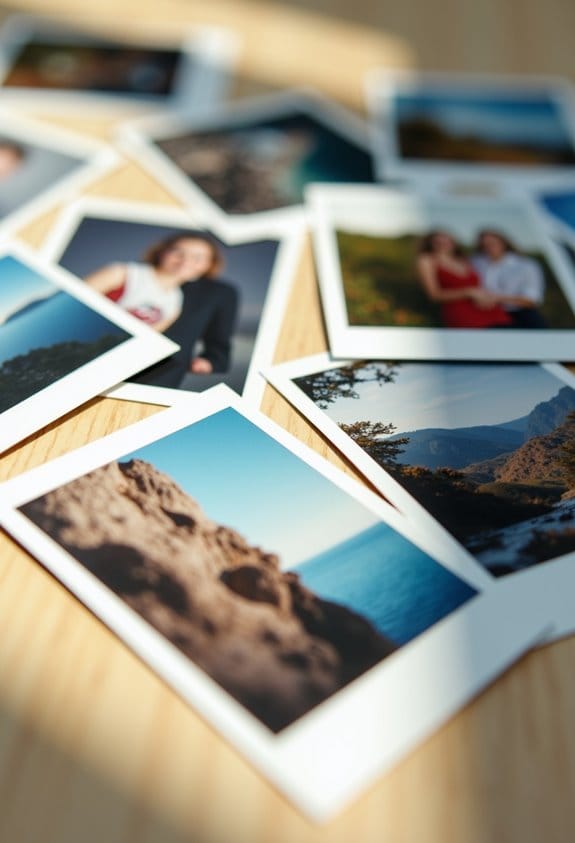
Alright, let’s talk about creating a photo wall with your favorite Polaroid photos! First off, grab those Polaroids that hold a special place in your heart—like the shot from that fun weekend getaway or your best friend’s wedding. These little snapshots pack a punch when it comes to nostalgia, so choose ones that spark joy.
Now, think about the variety you want. Mixing colors and themes can really make your wall pop. For instance, you could pair some colorful sunset shots with candid photos of your loved ones. And since Polaroids are about 3¼×4″ (8×10 cm), it’s a good idea to visualize how they’ll fit together on your wall.
Before you start sticking anything up, lay them out on a table or the floor. This way, you can tweak the arrangement until it feels just right. Trust me, trying different combinations will help you find the perfect setup that showcases those cherished memories beautifully. Ready to move on to the hanging part? Let’s dive in!
For even more creative instant photo options, consider using a digital instant camera that allows for easy printing and customization.
Plan Your Layout

Alright, let’s talk about how to plan your photo wall with those awesome Polaroid pictures you’ve collected! First things first, choosing a theme will really help your display look put together and cohesive. Once you’ve settled on a theme, grab a measuring tape or even some painter’s tape to outline where you want your photos to go on the wall. A good rule of thumb is to leave about a 1-inch space between each photo.
Before you make any permanent decisions, try laying the photos out on a table or the floor first. This way, you can play around with the arrangement until it feels just right. For instance, if you’re going for a nostalgic vibe, mix in some vintage decorations or even scrapbooking materials around the photos. And don’t forget, adding some string lights can create a fun ambiance that makes your memories pop even more!
To ensure your prints remain vibrant and durable on display, consider using photo paper with water-resistant and smudge-proof features. Once you’ve got a layout you love, you’ll be ready to hang them up and show off those cherished moments in style! What’s next on the to-do list? Let’s consider how to actually hang those Polaroids securely and ensure they stay looking great over time.
Recommended Products

Preprinted, scannable labels used to connect physical assets and locations to digital information, including text, photos, video links, instructions and more via the free BitRip mobile app

FIREPROOF & IMPACT TESTED FOR MAXIMUM SAFETY Fireproof Rated 350 1-hour for documents and paper, tested for fire at 1700 degrees Fahrenheit and explosion tested at 2000 degrees Fahrenheit. Impact Rated. The impact test includes dropping the cabinet 30 feet onto concrete rubble, then reheating in the fire.

Genuine OEM Canon Ink Tanks in Retail Package.
Choose Your Adhesive Method

Hey there! So, when we’re putting together our awesome photo wall, picking the right adhesive method is super important for both ease and protecting our walls. For instance, if you love the idea of swapping out Polaroid photos, Scotch Restickable Tabs are fantastic because you can reposition them anytime without leaving a mark. It’s like a little magic trick for your wall!
If you’re aiming for a sleek, clean look, double-sided tape or glue dots work wonders at the corners. They hold your photos firmly while maintaining that tidy aesthetic. And if you’re in a creative mood, why not try washi tape? It adds a fun touch and pulls off easily when you want to change things up.
Oh, and don’t forget about adhesive tacks! They’re perfect for quick changes and keep everything looking neat. By mixing and matching these methods, you’ll strike a balance between style and stability. This way, you can keep your stunning photo wall fresh and dynamic without a fuss. Many options include removable adhesive dots that allow for residue-free removal, preserving your wall and photos perfectly. So, what do you think? Ready to get started on your creative display?
Recommended Products

Weather Resistant

【Ideal Corkboard Alternative】Offering a modern, mess-free alternative to traditional cork boards, this foldable bulletin board is made from recyclable PET, providing a smooth, sturdy surface that won’t crumble or shed. Sized at 70.8" × 47.2"(180×120cm), it comes with 20 push pins and 48 adhesive tabs for quick and easy setup.

Create a Theme or Color Scheme
To make our instant photo wall really pop, creating a cohesive theme or color scheme is key! Imagine lining up our polaroid photos in shades that match our room’s decor. This not only ties everything together but also boosts the overall look. For instance, if our room has soft blues and greens, we can choose photos that feature similar tones to keep the harmony going.
Now, think about what themes resonate with us. Maybe we want to highlight our travel adventures—showcasing snapshots from our recent trip to the beach or a hike in the mountains. Or perhaps we prefer a cozy family memories theme, focusing on moments from holidays or birthdays. Once we settle on a theme, we can arrange the photos more effectively by grouping those with similar colors, which fosters a clean and organized appearance.
With a clear theme and color scheme in mind, we’re not just decorating; we’re creating a stunning visual story that celebrates our creativity and cherished moments. To enhance our display, we could also incorporate wall hanging frames, which offer an easy way to create cohesive photo arrangements.
So, what do you think? Ready to brainstorm some theme ideas together?
Recommended Products
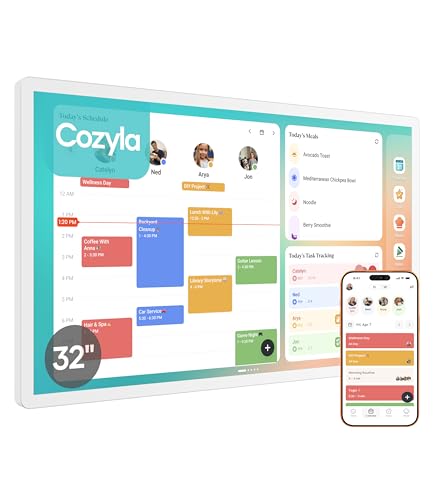
Family Shared Calendar: Our digital-calendar auto-syncs with Google, Apple, Outlook, Yahoo, etc. Create individual family profiles and use color-coded events to clearly organize everyone’s schedules in one shared view.

Family Shared Calendar: Featuring the built-in Cozyla Calendar App, our digital wall calendar makes it easy to manage and share schedules. It also syncs with other popular calendar apps, including Google Calendar, Apple Calendar, and Outlook, so your family can view, edit, and stay updated on all events together in one place.

Cozyla Family Shared Digital Calendar: Sync without subscription. Experience seamless real-time syncing with Google, Apple, Outlook, Yahoo, and more. Use the Cozyla+ companion app to share and edit events from anywhere. Manage and view everyone’s schedule on one shared screen.
Use Decorative Elements
Hey there! You know, adding decorative elements can really elevate your instant photo wall from just okay to something fantastic. Imagine using colorful washi tape to frame your polaroids—it’s a simple way to add some personality without ruining the prints. Plus, those fun patterns can make each photo pop!
Another great idea is to string up some fairy lights. They create a cozy glow that brings out the warmth in your photos, making everything feel a bit more magical. You could even mix up the vibes by using different materials like wooden and metal frames. This combination adds texture and depth, making your display visually interesting.
And don’t forget those little touches! Placing small vases or cute plants around your wall adds dimension and contrast that draws the eye. You could finish it off with some wall art or motivational quotes that resonate with you. These decorative elements will truly transform your photo wall into a welcoming visual story—one that reflects your unique style! Speaking of style, let’s chat about choosing the right colors and themes next. Using customizable storage options can also help keep your physical photos well organized and accessible as you build your display.
Recommended Products

Adhesive system designed for excellent performance and adhesion to a variety of smooth substrates

COLOR CODE AND DÉCOR - Available in multiple colors for hassle-free labeling purposes and easy identification. It is available in 6 different vibrant colors: Silver, Black, Gold, Green, Blue, and Red. These decorative tapes are perfect for adding splashes of color to back to school gear, stationary, diaries, planners, Décor your home or office by applying the tape to the wall to make your most creative designs and more.

PACKHOME provides various colors by different packaging quantity for what you need, we have different sizes of gift boxes for your options, free feel to visit our amazon store by click "PACKHOME" next to the title
Assemble Your Photo Display
Assembling your photo display is where all the fun begins! First up, let’s pick a theme or color scheme. This sets the vibe and helps everything look harmonized. For instance, if you have a collection of black-and-white photos, a minimalist theme might work wonderfully. If you’re showcasing colorful memories, vibrant backgrounds can really pop!
Next, grab some painter’s tape and let’s map out where the photos will go on the wall. This step is super important because it makes sure everything is organized and looks great once it’s up. You can even use a measuring tape to space them evenly, or get creative with different heights for a more dynamic layout.
Now it’s time to gather your favorite instant photos! Think about how you want to arrange them. Love a bit of chaos? Go for a haphazard spread. Prefer something orderly? Try straight rows. Once you’ve got your layout figured out, secure the photos in place using adhesive tape or restickable tabs. Easy to mount but also super user-friendly—so you can rearrange them later if you change your mind!
Finally, let’s add in some fun extras to really bring your display to life. String lights or little decorations can provide a warm, inviting touch. It’s all about making the space feel personal and unique to you. With your photo display looking fantastic, you’ll be ready to showcase your memories in style! Ready to move on to how to maintain and refresh your display over time? Remember to use hangers with the appropriate weight capacity to ensure your photos stay securely displayed.
Recommended Products

PICTURE-PERFECT PRINTS Built-in flash and LED ring light make it easy to get that picture-perfect shot, every time. Select your layout, frame, and filters and get a live view of it all on the 10.1” LCD touch screen before hitting print.

Wall mount 8.5 x 11 inch literature sleeve with no holes
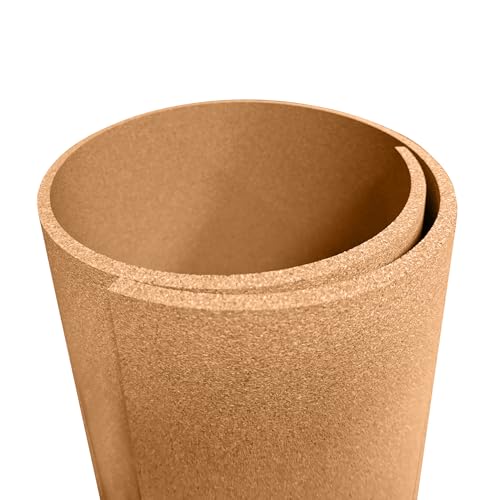
Thickest cork available in continuous lengths! Cork material especially for home improvement projects. Design a cork wall or tacking pin-up area
Ensure Proper Spacing and Alignment
Hey there! If you want your instant photo wall display to really shine, proper spacing and alignment are key. Think of it this way: when you have each print at least 1 inch apart, the whole display just feels more organized and visually appealing. A simple trick to keep those distances even is to grab a ruler or tape measure; it really helps with ensuring everything is lined up perfectly, both horizontally and vertically.
Now, if you’re worried about getting the alignment just right, painter’s tape is your best friend. Before you hang anything, you can outline where each photo will go with the tape. This gives you a clear vision of the layout and helps avoid any last-minute surprises. And don’t forget to leave about a 2 7/8 inch border above and below your prints—this prevents everything from looking too crowded. As you set up, take a step back every now and then to check that everything looks straight and evenly spaced. Trust me, it makes a huge difference.
Once you’ve got your photos hung up, you’ll find that this attention to detail creates a lovely, harmonious vibe on your wall. And if you’re interested in how to select the best photos for your display, let’s dive into that next! For added protection and longevity, consider using albums made with acid-free PVC materials to store your prints when not on display.
Rotate and Update Photos Regularly
Hey there! Have you ever thought about how refreshing it is to rotate and update photos on your wall? I mean, doing this every 1-3 months can really keep your display feeling fresh and engaging! Not only does it shake things up, but it also allows you to show off those wonderful new memories you’ve made.
One fun idea is to switch things out based on the seasons. For example, you might highlight your summer beach trips in July or show off cozy holiday gatherings in December. It’s a simple way to reflect the time of year while keeping your wall from getting stale.
When you’re ready to make the swap, I suggest using string with pegs or adhesive tabs. They’re super handy for updating photos without putting holes in the wall! And why not get your family or friends involved in picking out what to display next? It can turn a simple task into a fun little project together! So, next time you pass your photo wall, you’ll feel that burst of joy from those cherished moments—and who doesn’t love a little nostalgia? Using adjustable dividers in photo organizers can also help keep your prints neat and easy to access as you update your display.
Personalize Your Display
Let’s talk about personalizing your photo wall display! It’s all about creating something that really shows off who you are. Start by picking a theme or color scheme you love—this helps tie all your photos together so they look great side by side. For example, if you’re into warm tones, go for earthy colors like browns and oranges that can create a cozy vibe.
You can also add some fun elements, like string lights to give it a warm glow or colorful washi tape to frame your photos—you’ll be surprised at how much character they can bring! Don’t forget to sprinkle in some quotes or captions that resonate with you; these little additions help tell your story. Consider arranging your photos in unique shapes, like a heart for a romantic touch or a grid for a classic look, to make a real impact.
And if you’re looking for something special, try using unique photo frames or fun materials like memo boards. They can really make your display stand out. If you need prints, there are tons of services online that can cater to your specific style. So, let’s get creative and make that wall truly yours!
One way to enhance your display is by choosing frames with strong magnetic backing so your photos stay securely in place on any metal surface. What do you think about doing a little brainstorming session on themes next?
Enjoy Your Instant Photo Wall
Hey there! So, once you’ve personalized your photo wall display, it’s all about enjoying it to the fullest. Arranging our Polaroids in a way that suits our vibe—whether it’s a neat grid or a fun, chaotic layout—really brings character to the space. For instance, if you love color, why not arrange your photos in a gradient? It’s super eye-catching!
To keep things exciting, let’s make a habit of rotating our prints. By showcasing new memories regularly, we keep the wall feeling fresh and inviting. A great tip is to use removable adhesives, like Scotch Restickable Tabs, which allow us to reposition our photos without damaging the wall. While you’re at it, check for any corners that might be curling up and smooth them down. This simple step ensures everything looks sharp and tidy.
Oh, and don’t forget to jazz up your photo wall a little! Adding some string lights can create a cozy ambiance, and a few inspirational quotes can bring that extra personal touch. It’s all about creating a vibrant visual story of our lives that we can be proud of. Now that we’ve got the wall looking great, let’s think about how to keep it organized as we capture even more memories! Choosing clips with self-adhesive backs simplifies placement and makes changing displays a breeze.
Frequently Asked Questions
How to Display Instant Photos?
To display instant photos, we can explore photo display ideas like framing them creatively or creating themed arrangements. Using clips, string, or decorative tape can add a personal touch to our photo wall themes.
How to Create a Photo Wall Display?
We’ve seen how a friend created a stunning photo wall with colorful frames. To elevate our own displays, let’s explore creative ideas and decoration tips that make our photos the focal point of any room.
How to Display Multiple Photos on a Wall?
To display multiple photos on a wall, we can use photo arrangement tips, explore creative display ideas, and draw from wall layout inspiration. This will help us create a personalized and visually appealing gallery!
How to Temporarily Display Photos?
Oh sure, let’s just dangle our memories like laundry! We can use stylish adhesive options, digital photo frames, or temporary photo clips to showcase our moments without commitment—and who doesn’t love a fleeting masterpiece on display?


