As an Amazon Associate, we earn from qualifying purchases. Some links on this site are affiliate links at no extra cost to you. Our recommendations are based on thorough research and editorial judgment.

Essential Instant Camera Terminology Every Beginner Should Learn
When we start using instant cameras, it’s key to learn some essential terminology. Features like aperture and ISO affect our photos greatly; aperture controls light entry, while ISO impacts sensitivity to light. Understanding exposure settings helps us adjust to different lighting conditions. Key accessories, such as lens filters and tripods, enhance our photography experience. Knowing about file formats, like JPEG and TIFF, guarantees we preserve image quality. Stay with us as we explore these terms further!
Key Takeaways
- ISO: Measures the camera’s sensitivity to light; higher ISO results in brighter images, while lower ISO offers clearer prints.
- Aperture: Determines how much light enters the camera, impacting exposure and depth of field for greater focus control.
- Shutter Speed: Controls the duration light is captured, essential for freezing motion or allowing light in low-light environments.
- Self-Deveopling Film: Instant cameras utilize this film type for immediate photo printing, enabling instant gratification from captured moments.
- Exposure Triangle: Comprises aperture, shutter speed, and ISO; understanding their balance is crucial for achieving proper exposure in photographs.
Key Instant Camera Features

You may be interested


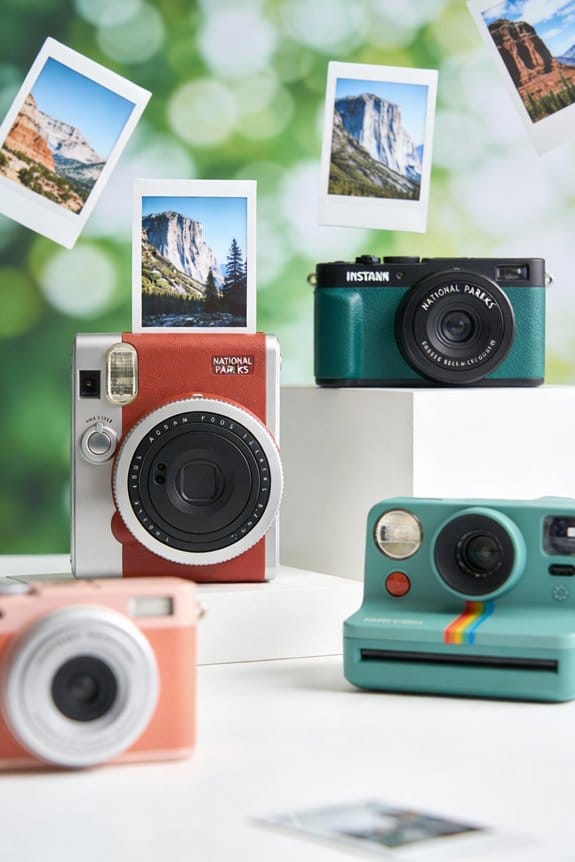
If you’re looking to capture memories quickly, instant cameras are like having a trusty sidekick by your side! These fun little gadgets use self-developing film, which means you can watch your photos appear right before your eyes in just a few minutes. It’s perfect for those spontaneous moments, like when you and your friends are at a party or out exploring a new city.
What’s great about instant cameras is that they adjust to different lighting conditions. This automatic exposure control helps ensure your photos look good whether you’re indoors or outside. Plus, most models let you tweak things like the flash intensity or exposure, so you can make sure every shot is vibrant and true to life. For instance, if you’re taking a picture at a sunset party, you can bump up the exposure to get the warm colors just right.
As for the photos themselves, they usually come in popular formats like credit card-sized or classic square prints. Many instant cameras also have a nifty selfie mode with a built-in mirror, which makes snapping self-portraits super easy. It’s such a fun way to mix nostalgia with creativity, and every shot becomes a physical keepsake you can hold onto.
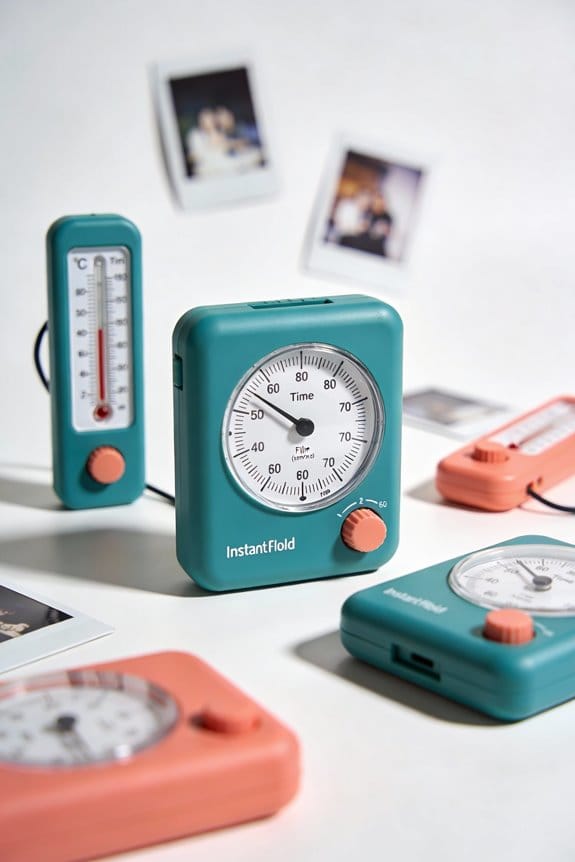
Many instant camera kits also include photo albums and organizers to help you store and protect your growing collection of prints, keeping memories safe and well arranged.
Understanding Exposure Settings
Capturing memories with an instant camera is a lot of fun, but there’s more to it than just hitting the shutter. Getting a handle on exposure settings can really up your photography game. So, let’s chat about the exposure triangle—it’s all about aperture, shutter speed, and ISO.
Aperture controls how much light gets into your camera. Think of it like your eye; a wider opening lets in more light but creates a shallower depth of field, so the background blurs, putting the focus on your subject. For example, if you’re snapping a close-up of a friend at a café, a wider aperture helps make them pop against the softly blurred background.
Now, onto shutter speed, which is how long your camera’s sensor is exposed to light. If you’re photographing a fast-moving child, use a faster shutter speed to freeze that action and avoid motion blur. On the other hand, a slower shutter speed might be great for capturing a flowing waterfall, giving it a dreamy effect.
Lastly, let’s talk about ISO. This setting measures your camera’s sensitivity to light. Lower ISO values give you clearer images with less grain, but if you’re in a dimly lit room, bumping it up helps capture the moment, although you might get a little noise in the photo. Instant films like Fujifilm Instax commonly use an ISO 800 rating to ensure vibrant colors and good skin tones in prints.
Mastering Focusing Techniques

Hey there! Let’s talk about mastering focusing techniques in photography. When you really grasp how to control your focus areas, it not only sharpens your subjects but also gives you the chance to blur the background for that awesome artistic effect. For instance, if you’re snapping a portrait, you might want your friend in sharp focus while letting the colorful park behind them fade softly—this makes the photo pop!
Now, if you’re using autofocus, you’ve got a couple of tools at your disposal: One-Shot mode is great for those still moments, like a family gathering, while AI Servo is your go-to for moving subjects, like kids playing. And hey, if you’re feeling adventurous (and need a bit more control), switching to manual focus can be a fantastic choice, especially in tricky lighting situations or when you want to pull off a shallow depth of field.
Speaking of apertures, using a wide one can beautifully blur the background in your shots, while a narrower aperture is perfect for landscapes where you want everything in focus. So keep these tips in mind, and you’ll start capturing images that are not just clear but full of life and detail! Instant cameras, with their rapid development, also encourage quick adjustments in focus to seize spontaneous moments. Next up, let’s explore the different ways you can use light to enhance your photography further.
Exploring Composition Basics
Hey there! Let’s chat about the basics of composition in photography—this is where your skills really start to shine. Think of composition as the way we arrange everything we see in the frame to create a story and stir emotions.
One fun technique to get started is the rule of thirds. Imagine dividing your photo into nine equal squares like a tic-tac-toe board. Instead of placing your main subject smack in the center, try positioning it at one of those intersecting points. For instance, if you’re capturing a landscape, position the horizon along the top third instead of the middle.
Another cool trick is using leading lines—like a winding road or a nice fence—to draw the viewer’s eye directly to your subject. You can also frame your subject creatively by using elements in your surroundings, like branches or windows, to create a “frame within a frame.” Finally, don’t forget about negative space! This is the area around your main subject that helps it stand out and adds balance to your photo.
Now, how about we explore some real-world examples? Maybe you can try some of these techniques on your next walk or outing. You’ll be amazed at the difference it makes! What do you think? Ready to grab your camera and start experimenting? Using an instant camera with compact and lightweight design can make it easier to apply these composition techniques on the go.
Color Management and White Balance
Hey there! When it comes to taking stunning photographs, you really can’t overlook color management and white balance. Think of color management as the way we make sure colors look the same across all your devices, like your phone or computer. White balance, on the other hand, helps us adjust those colors based on the type of light we’re shooting in, whether that’s natural sunlight or the warm glow of a lamp.
For instance, if you take a photo indoors with tungsten lighting, your images might end up with an unwanted yellow tint. By adjusting the white balance in your camera settings, you can neutralize that color cast and keep your photos looking natural. And if you’re unsure where to start, setting your camera to the “Auto” white balance mode can often give you a decent result for various lighting conditions.
Also, don’t forget about color temperature, which is measured in Kelvin. Lower numbers, like 3000K, give off warm tones, while higher numbers around 6000K lean cool. This affects the overall mood of your photos, so if you’re aiming for a cozy, inviting vibe, you might want to stick to that lower Kelvin range.
Understanding these concepts not only helps you take better photos but also makes your editing process easier. Next, let’s talk about how to apply these principles in post-processing for even more control over your images! When using instant film, it’s crucial to consider the film’s ISO rating to ensure vivid colors and natural skin tones in your shots.
Image File Formats Explained
Hey there! Let’s chat about image file formats and how they can make or break your photography experience. You might have heard of JPEGs, which are super popular because they shrink file sizes. This makes them a breeze to share on social media or back up on your phone, all while keeping pretty good quality. On the flip side, there are RAW files. These beauties capture every single piece of data from your camera’s sensor without anything thrown out, so you can edit like a pro later on. The trade-off? They take up a lot more space.
Now, let’s not forget about TIFF files. They’re all about high quality too, and they use lossless compression, meaning you won’t lose any detail—ideal for professional prints or preserving memories in archives. Think about it this way: if you want to print a massive canvas of your family portrait, a TIFF would be perfect because it keeps all those little details sharp. And as for megapixels, remember that higher resolution gives you sharper images, especially important if you’re displaying on large screens.
Also, protecting your printed photos with scratch-resistant materials can help maintain image quality over time.
Essential Accessories for Instant Photography
If you’re getting into instant photography, having the right accessories can make a big difference in your experience! Think of instant camera cases as your camera’s protective armor. They not only keep your gear safe from scratches, but they also have handy compartments for instant film packs and other must-haves. So, the next time you’re out snapping photos, you won’t have to rummage through your bag to find what you need.
Now, let’s talk about tripods. A sturdy tripod is essential, especially when you’re in low-light situations. It helps stabilize your shots, which is super helpful for things like group photos or nighttime cityscapes where you want everything to look sharp. Imagine trying to capture a beautiful sunset – the last thing you want is a blurry photo because your hands were shaky!
Don’t forget about the film packs either! Using high-quality instant film can really elevate your prints, making the colors pop and the images even more vibrant. And if you want to add a creative twist to your photos, consider investing in some filters or lens attachments. They can give your images unique effects, like softening the background or adding a splash of color.
Finally, you’ll need a photo album to keep all those instant prints safe and sound. It not only protects them from damage and fading but also provides a lovely way to showcase your memories. Just picture flipping through a beautifully organized album filled with all your instant treasures! For the best results, it’s also important to consider instant cameras with zero-ink printing technology to ensure your photos come out vibrant and smudge-free.
Frequently Asked Questions
What Are the 7 C’s of Photography?
The 7 C’s of photography are content, context, composition, creativity, consistency, capture, and confidence. We’ll explore techniques like framing subjects, using creative angles, mastering exposure settings, and understanding depth perception together for stunning images.
What Is the 20 60 20 Rule in Photography?
The 20 60 20 rule helps us balance subject focus, environment, and negative space. By considering composition techniques, lighting conditions, and color balance, we enhance visual storytelling while using effective camera settings and photo editing.
What Are the 5 C’s of Photography?
The 5 C’s of photography are Composition Techniques, Color Theory, Contrast, Clarity, and Creativity. By mastering these elements alongside Lighting Fundamentals and the Exposure Triangle, we can improve our Camera Settings and Lens Selection for stunning images.
What Are the 7 Basics of Photography?
The seven basics of photography include shutter speed, aperture settings, ISO levels, composition techniques, focal length, exposure triangle, and lighting conditions, while mastering white balance, depth perception, and lens types enhances our photographic skills.